
Setting Up Zendesk Jira Integration – A Step-by-Step Approach
Step 1: Install Exalate on Zendesk
Establish a Proxy User
- Commence the process by creating a dedicated proxy user in Zendesk, essential for Exalate installation.
- This user serves during the app installation, ensuring optimal synchronization.
Generate API Token:
- Navigate to the Zendesk Admin screen via the cog-shaped icon.
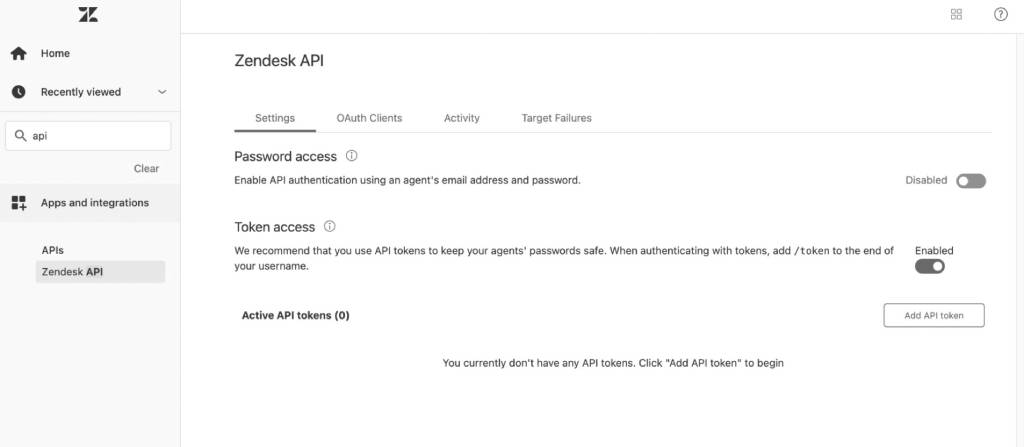
- Navigate to “API” within the “Apps and Integrations” section.
- Activate “Token Access,” generating a token for the proxy user and securely copying it.
Marketplace Installation of Exalate:
- Log in to Zendesk, visit the admin section, and access “Marketplace.”
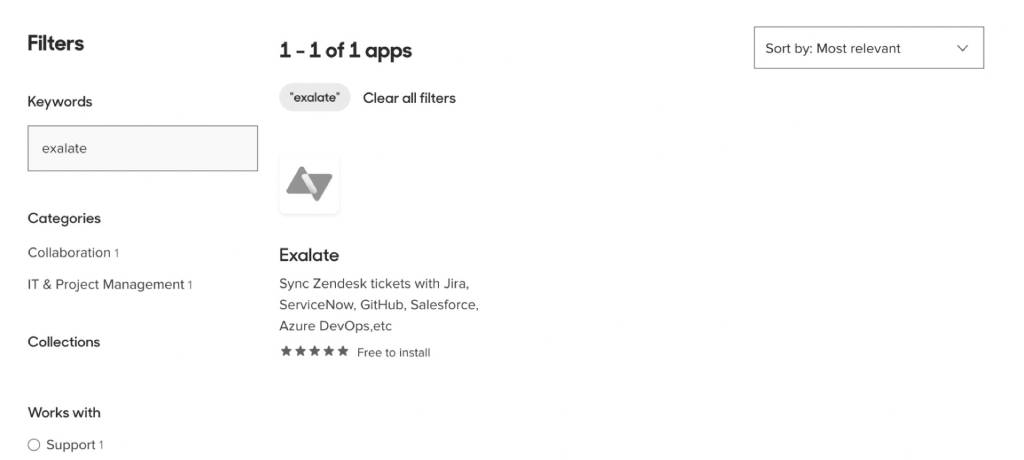
- Search for “Exalate,” select the app, and initiate installation.
- Input the previously generated token and proxy user details during the installation process.

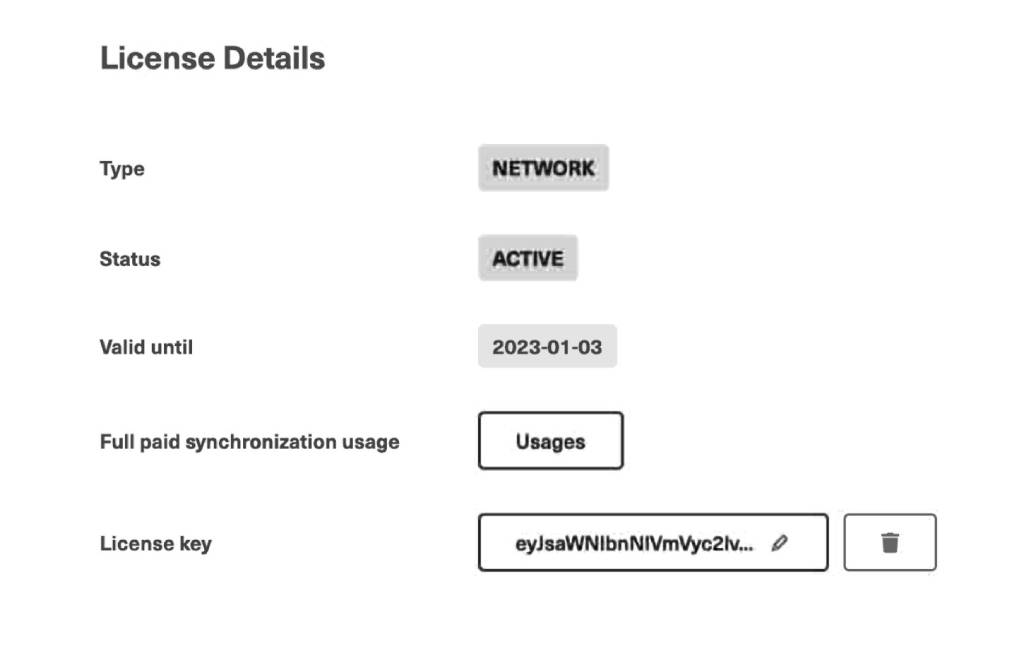
Register for Exalate Node:
- Click on “Exalate” in Zendesk’s left-hand menu.
- Access the licensing page, opt for the “30-day trial,” and input your email to receive an evaluation key.
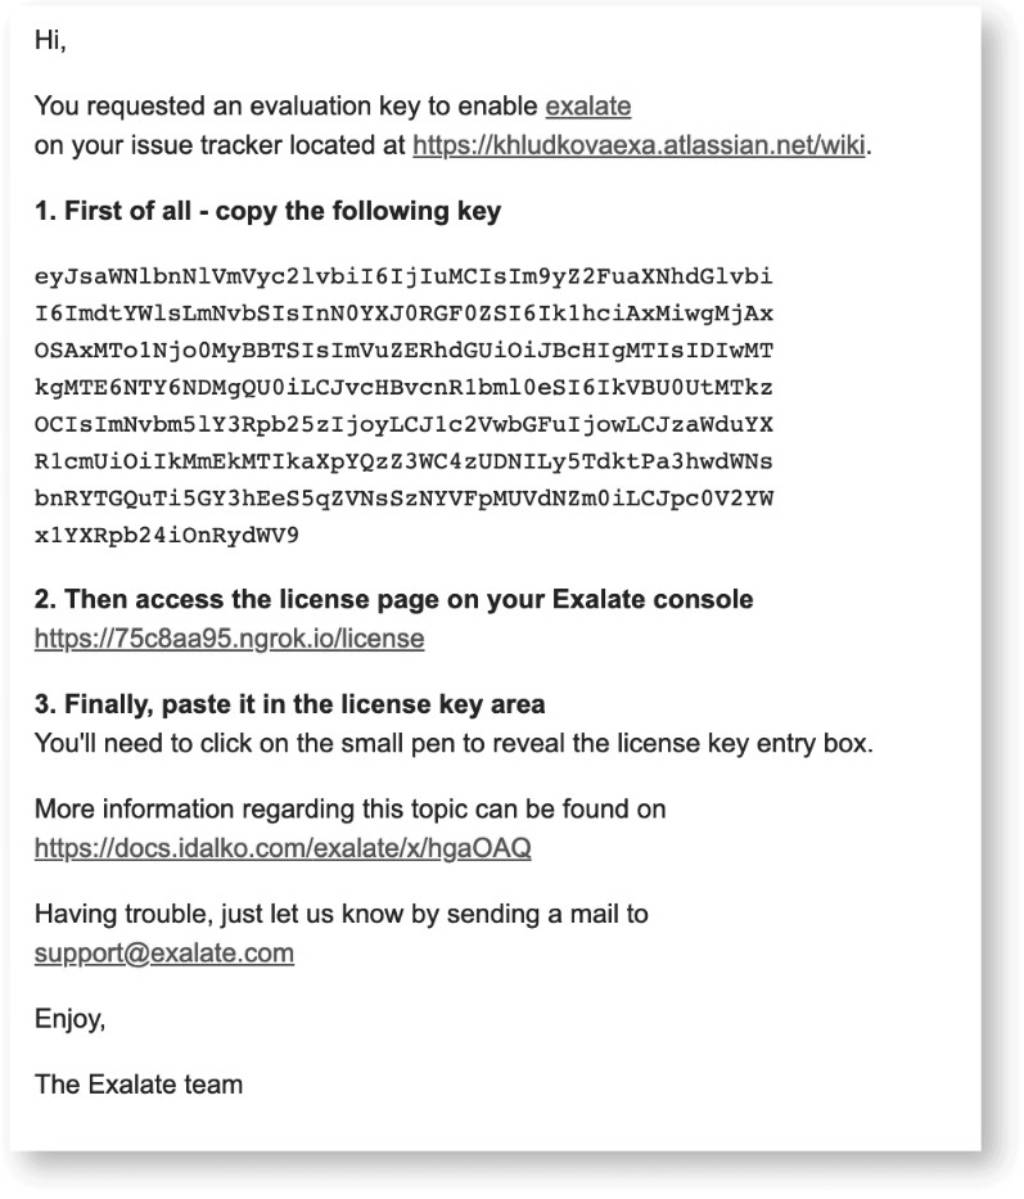
- Copy the key from the email and paste it into the Exalate license details page, then click “Update.”
Initiate Exalate Installation on Jira:
With Zendesk setup complete, proceed to install Exalate on Jira for connection establishment
Step 2: Install Exalate on Jira
There are two primary versions of Jira—Jira Cloud and Jira Server, with Jira Data Center catering to Enterprise users. Exalate is compatible with all versions, albeit with slightly different installation processes.
Once Exalate is configured, it provides a unified interface across all platforms, facilitating easy deployment and adaptation to your requirements.
- Log in to your Jira instance.
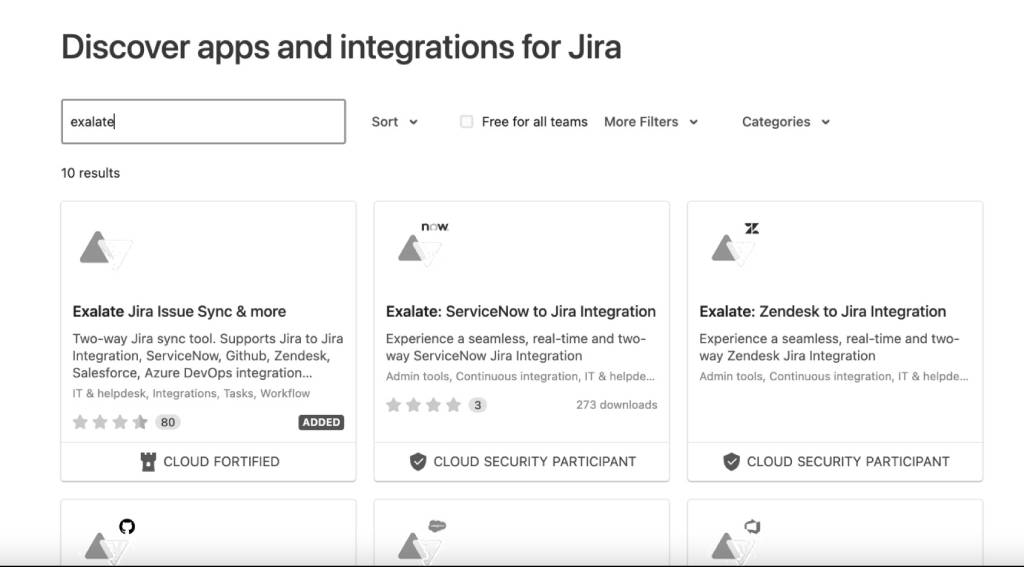
- Locate Exalate in the marketplace by clicking the cog-shaped settings button and selecting “Apps.”
- Enter “Exalate” in the search field.
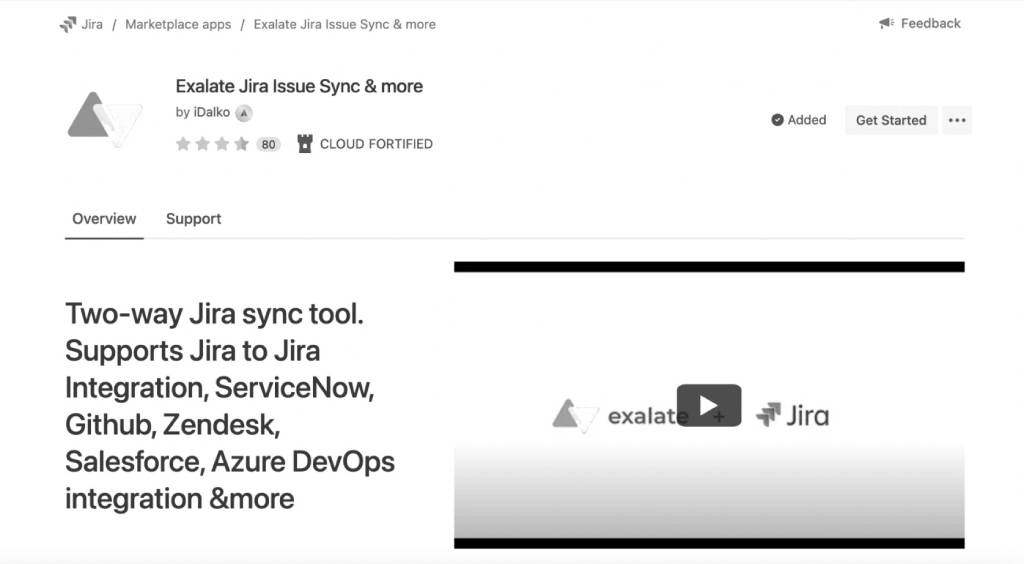
- Choose “Exalate Jira Issue Sync & More” from the search results.
- Click “Try it free.”
- In the pop-up, click “Start free trial.”
- After a brief moment, return to Jira for confirmation.
- Select “Get started” to finalize the Exalate installation on Jira.
- Exalate is now installed and ready on both platforms.
Proceed to connect Exalate on both platforms.
Step 3: Establish Zendesk and Jira Connection
To initiate the connection, navigate to either platform, input the necessary details, and generate an invitation. Then, switch to the second platform and accept the invitation.
The starting platform is flexible, but we’ll commence with Zendesk for this guide.
Utilize Exalate’s common interface by selecting its icon from Zendesk’s left-side menu. If you haven’t accepted Exalate’s EULA, you may be prompted to do so on this screen.
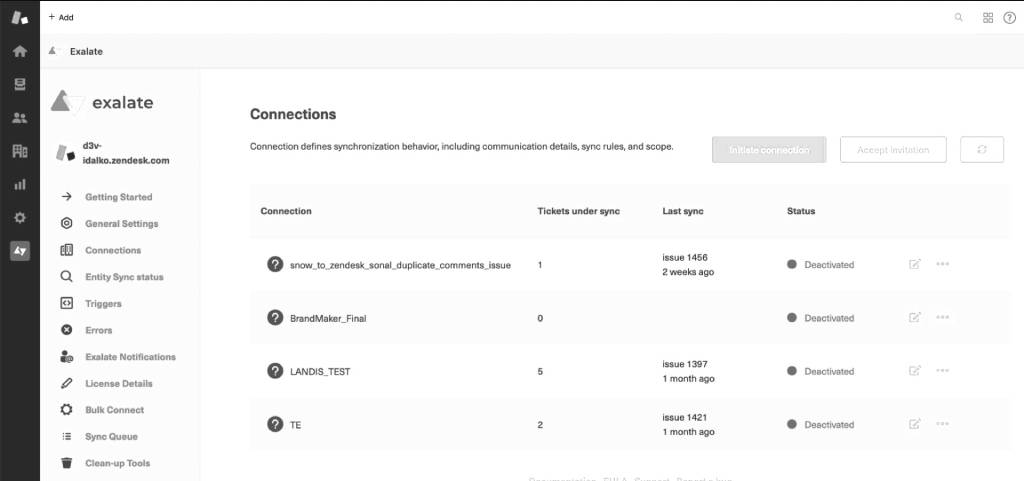
Access the connections screen, where your connections are listed.
Opt for the “Initiate connection” button located in the upper right corner.
You’ll be prompted to enter the destination instance’s URL, in this case, the Jira node’s URL.
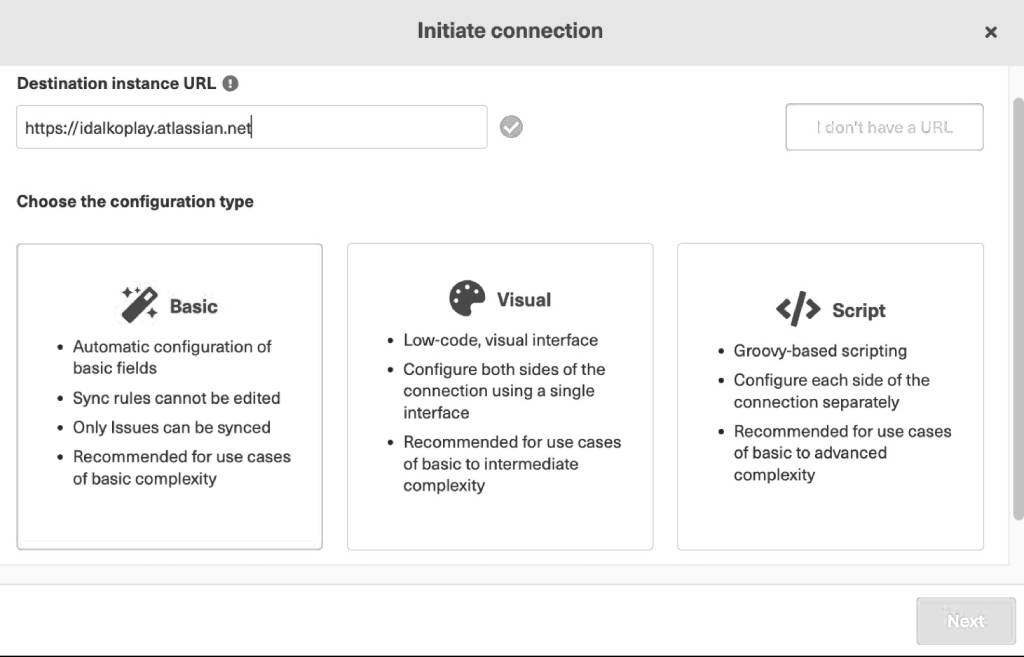
Verification checks if Exalate is installed on the destination.
Choose one of the three connection modes at this point:
- Basic Mode
- Visual Mode
- Script Mode
For advanced, flexible integration, use the “Groovy Scripting” language for modifying sync rules.
Explore each mode for varied synchronization requirements.
Continue with Basic mode:
- Click “Next” to proceed with the Basic Mode.
- Confirm your admin access to the Jira side by selecting “Yes, I have admin access” and clicking “Initiate.”

- Verify the admin access on the Jira side.
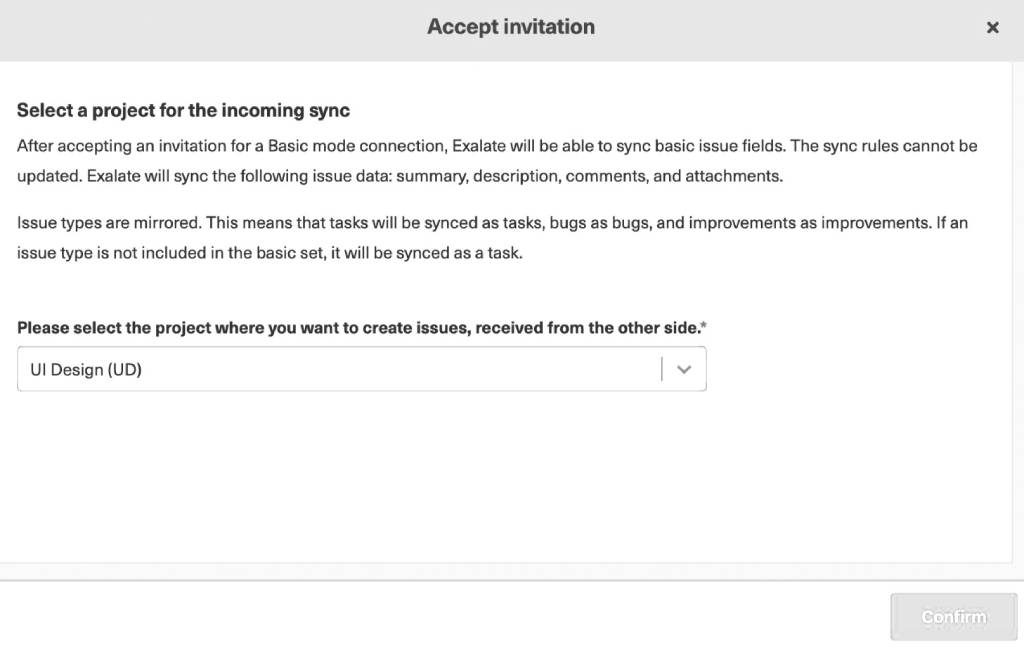
- Select a project from the drop-down list and click “Confirm” to establish the connection between Zendesk and Jira.
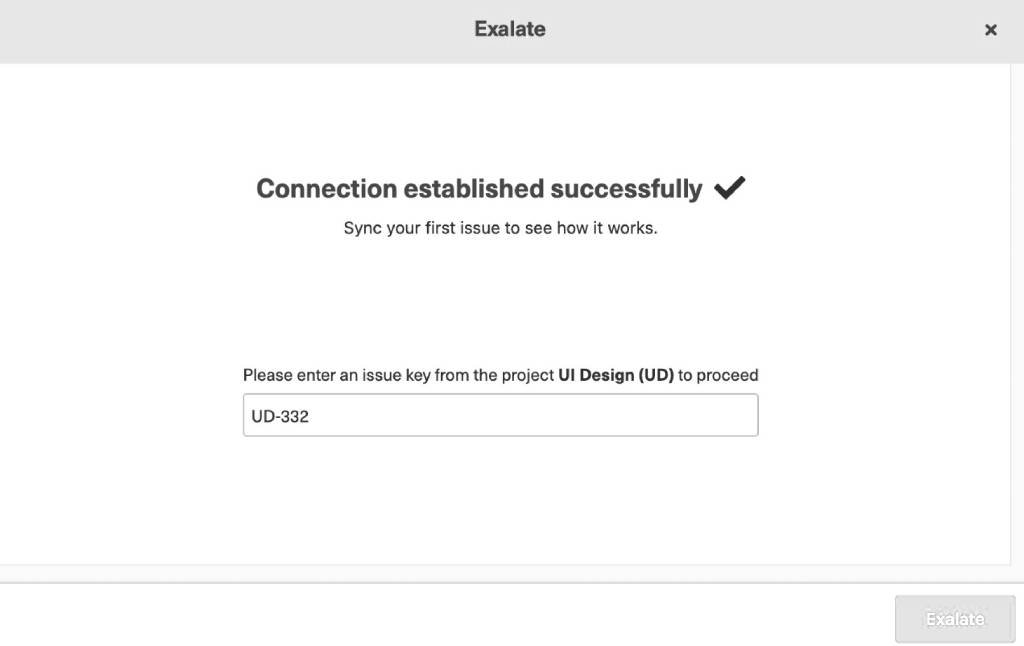
- Sync your first issue by entering the issue key directly or by creating a trigger.
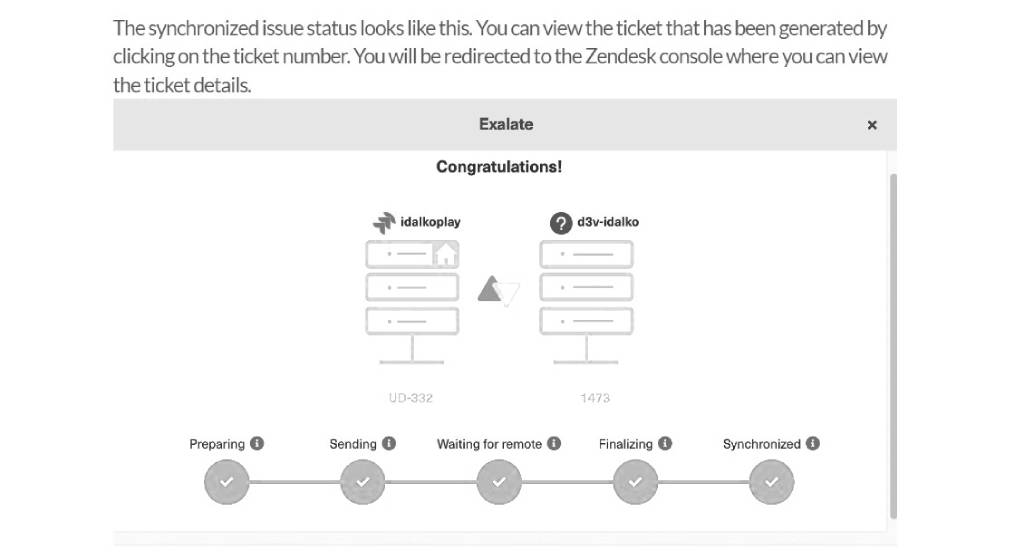
- For bulk synchronization, enter the ticket number on the Zendesk side and click “Exalate.”
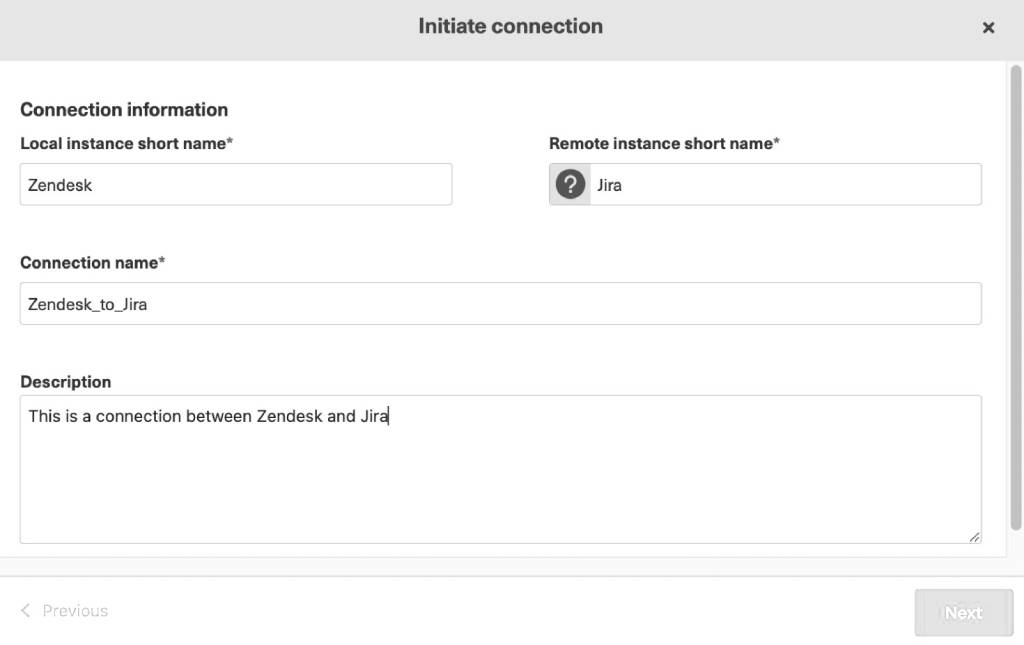
Continue with Visual Mode:
Opt for the Visual Mode and name your local and remote instances.
Verify admin access to the other node before initiating the connection setup.
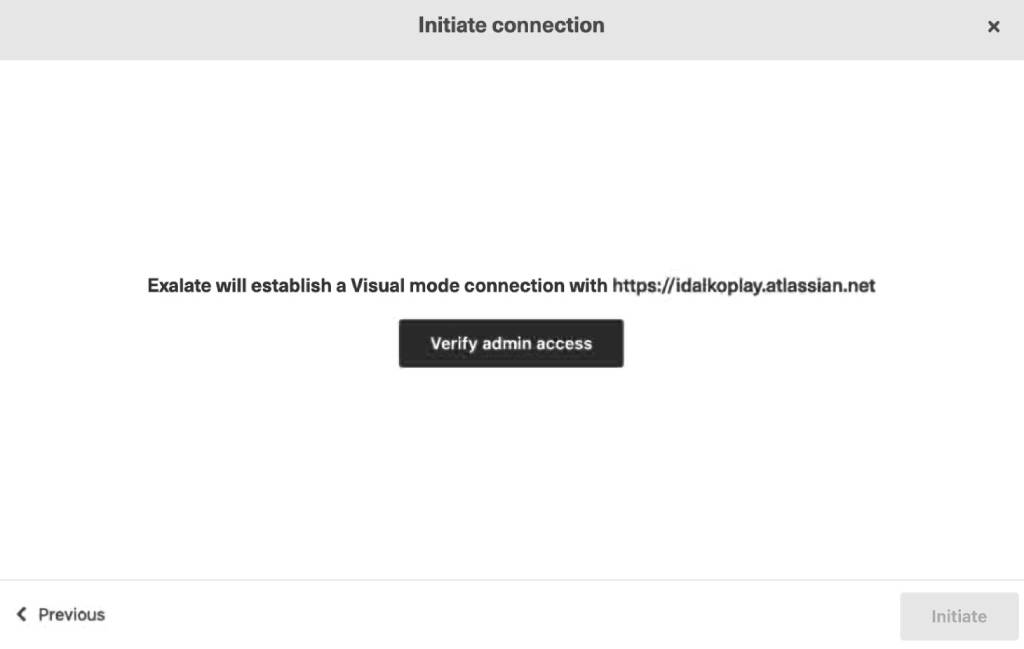
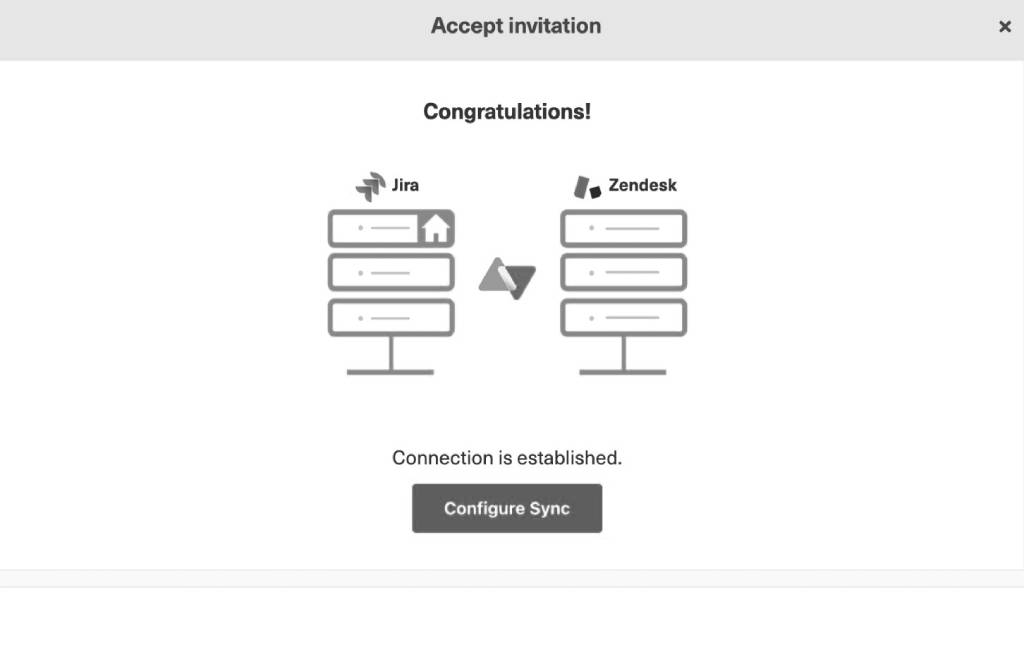
Initiate the connection setup after successful verification and click “Configure sync.”
Utilize the “Filter tickets” button to select ticket properties for synchronization.

- Save your chosen filters for future use.
- Configure sync methods for each direction (manual, automatic, or disabled).
- Specify the project for synchronization and filter entities on the Jira end.
- Proceed to the next step and set up synchronization rules.
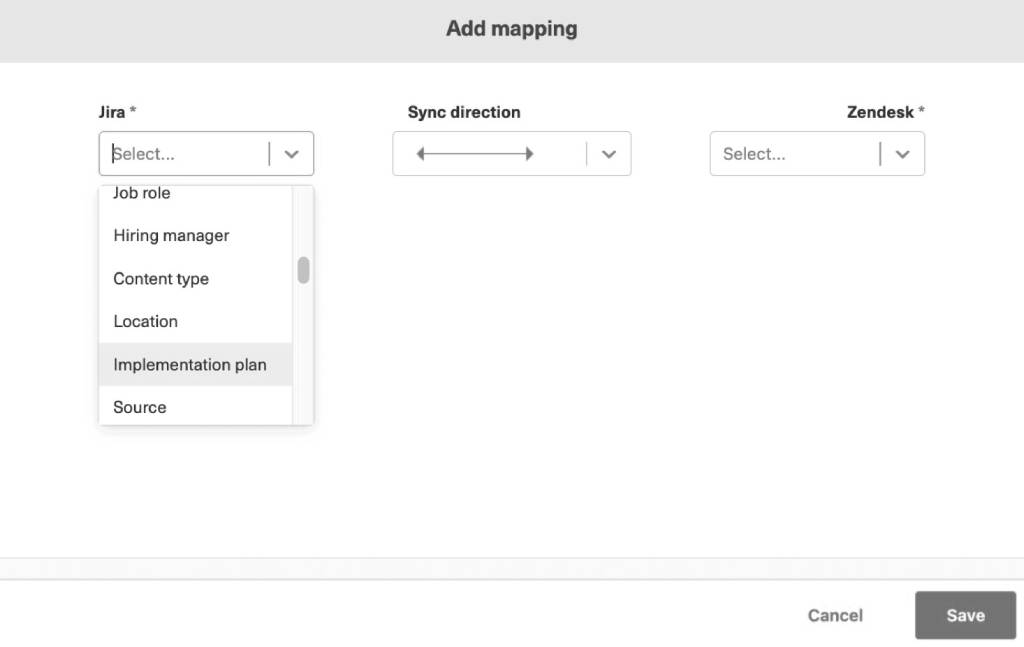
- Modify field mappings and choose sync directions as needed.
- Define default values or actions for missing values during synchronization.
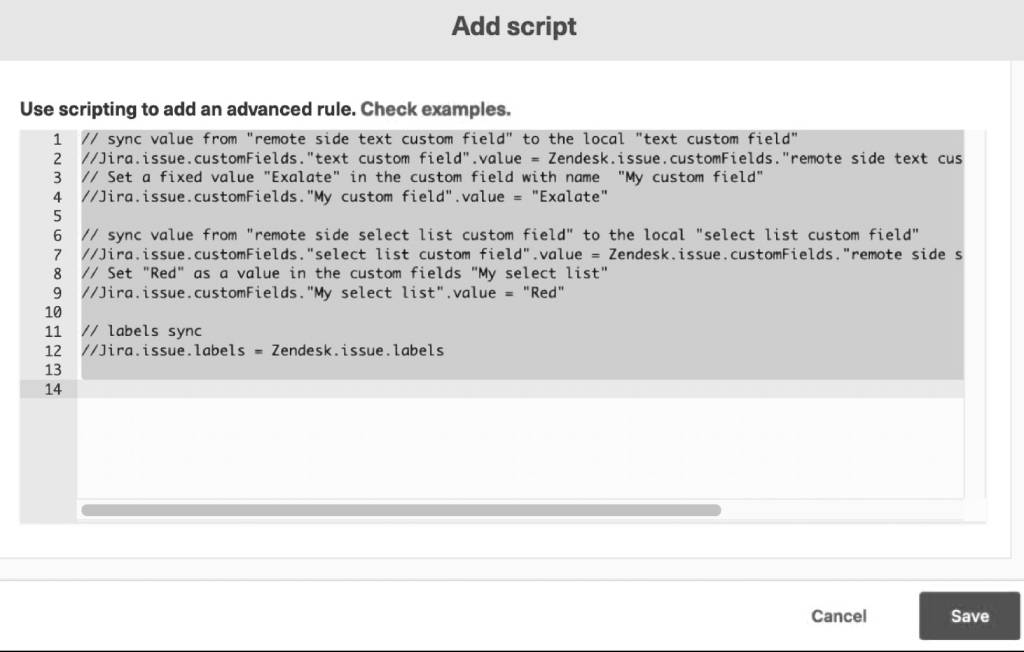
- Include advanced scripting rules if necessary.
Click “Publish” to finalize and create the connection.
Continue with Script Mode:
Choose Script Mode for the setup.
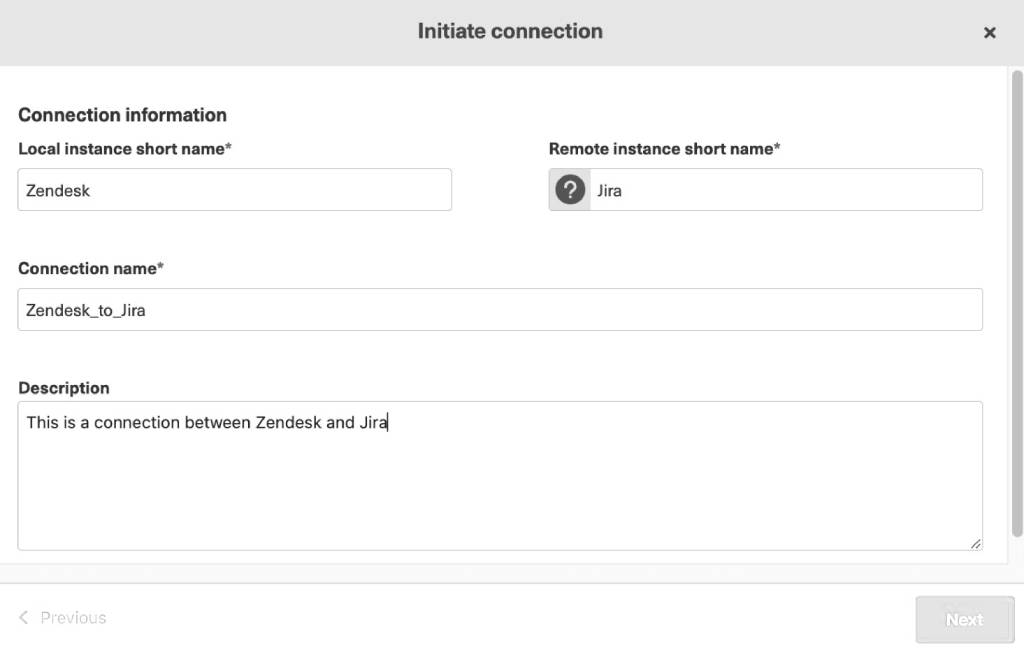
- Enter the URL of the destination instance (Jira node URL) and provide connection details.
- Proceed to the next screen by clicking “Next.”
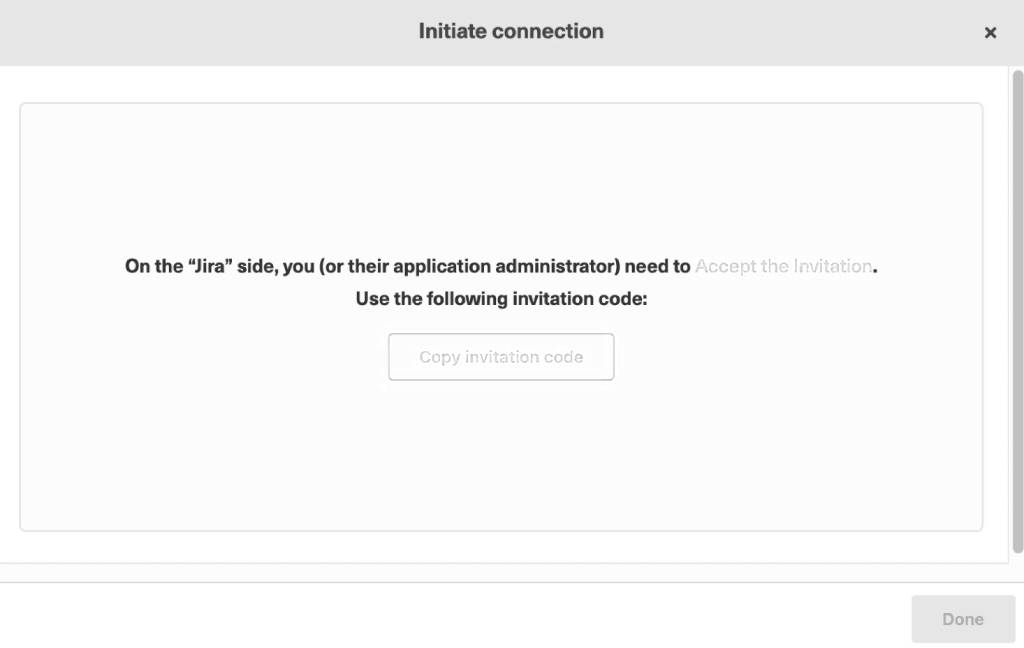
- On the final screen, click “Copy invitation code” and save it securely.
- Switch to Jira, login, and navigate to “Apps” in the top menu.
- Access the Exalate section in the left-side menu and click “Connections.”

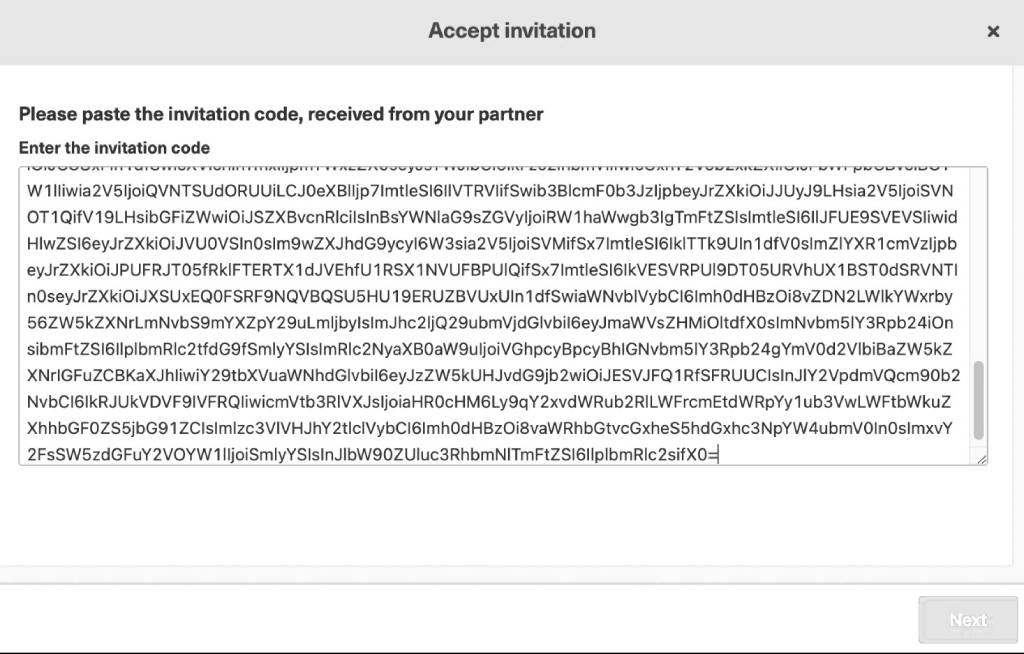
Click “Accept invitation” and paste the invitation code on the next screen.
Select a Jira project from the drop-down list and click “Confirm.”
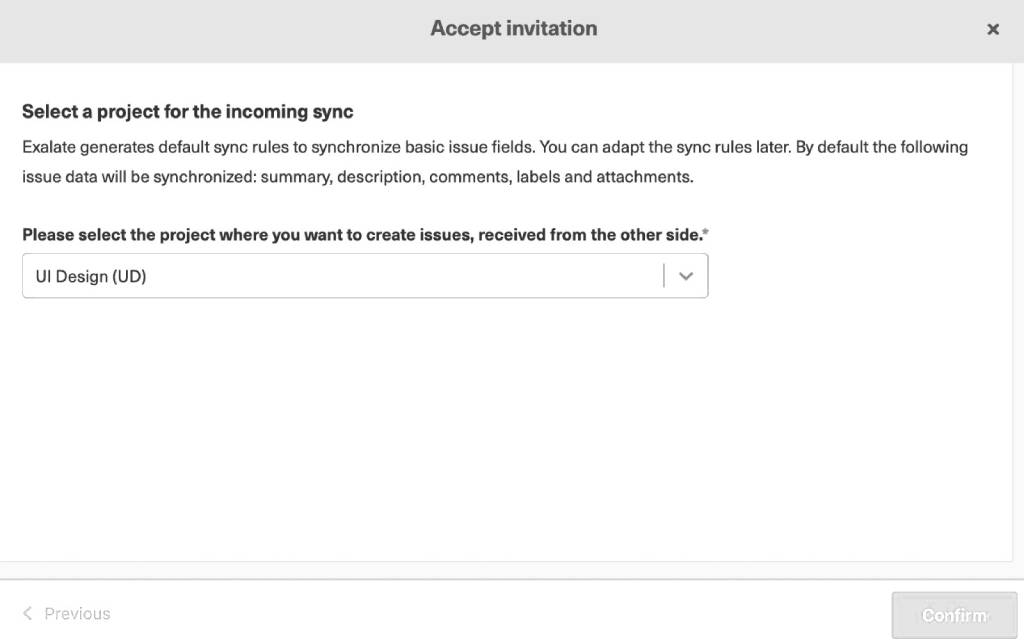
The connection will be set up, and you can configure it immediately by clicking “Configure Sync” or move to the next step.

Step 4: Adjust Connection Rules for Data Mapping
In Zendesk, click “Connections” in the left-hand menu under the “Exalate” heading, find the desired connection, and click the “Edit connection” icon.
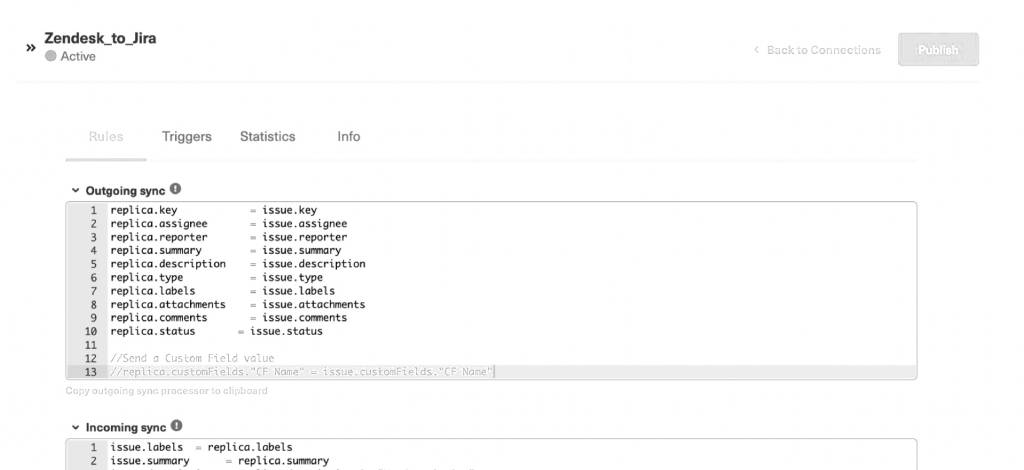
- Access the “Rules” tab, which includes “Outgoing sync” and “Incoming sync” sections. The former maps items from Zendesk to Jira, while the latter maps incoming Jira items to new Zendesk items.
- Fields on each platform’s items are mapped to their equivalents on the other platform. Customize this mapping based on your requirements.
- Outgoing and Incoming sync scripts need independent configuration at both ends to meet sync requirements.
- In the Outgoing sync, adjust mappings, such as “replica.assignee = issue.assignee.”
- In the Incoming sync, add mappings if needed, like “issue.assignee = replica.assignee.”
- The “replica” serves as a message to pass information from the source to the destination in the Outgoing sync. Apply this information on the Incoming sync side.
- Customize actions, like assigning issues or setting values. Example: replica.assignee = ‘Julia’ or issue.labels = ‘From Jira’.
- Perform more advanced actions, such as adding multiple fields to the description or transferring data between fields.
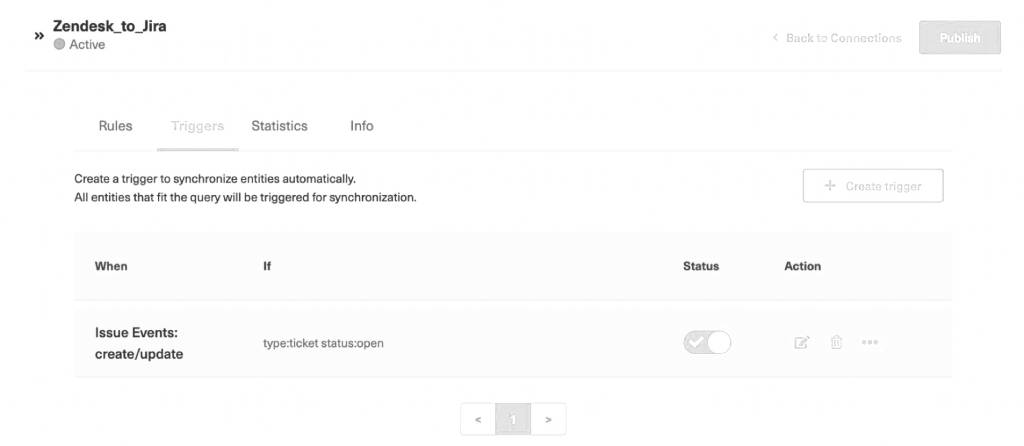
Step 5: Configure Automated Synchronization Triggers
- Control mappings and alter synchronization conditions using synchronization triggers.
- Locate your connection, hover over it, and click the “Edit” icon. Navigate to the “Triggers” screen or use the Triggers entry in the left-hand menu.
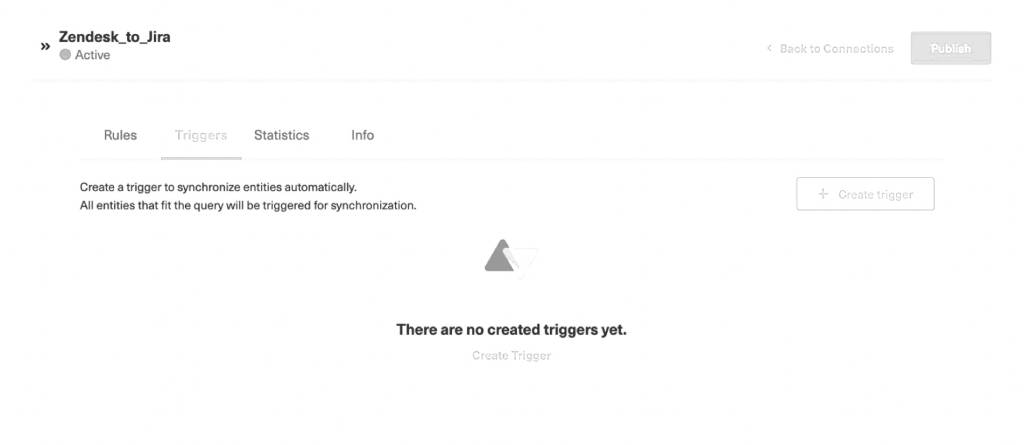
- If no triggers exist, create one by clicking the “Create trigger” button.
- On the “Add trigger” screen, adjust various fields:
- Choose the issue type to synchronize from the drop-down box (e.g., “Ticket” in Zendesk).
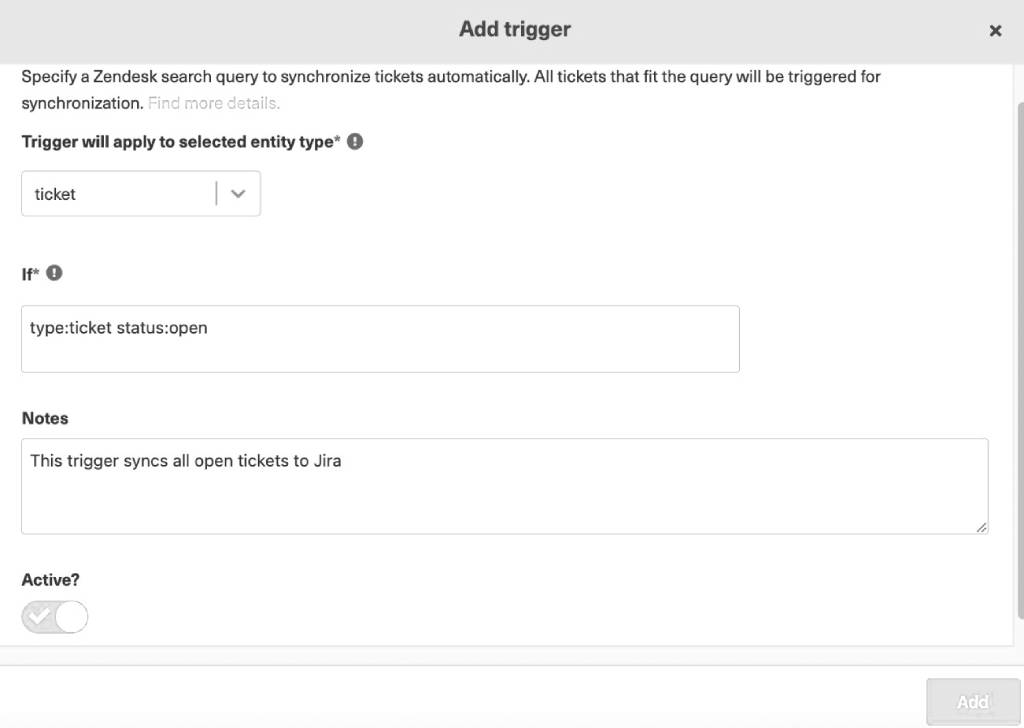
- Enter a search query that matches the entities you want to send.
- You can set up multiple triggers for different conditions, defined using platform-specific queries like JQL for Jira.
Example queries:
If item.type = bug
If item.assignee = ‘Kevin’
If item.status = ‘open’
- Build more complex queries using logical operators (AND, OR) and comparison operators (<, >, ~, !=).
- Use the description field to provide information about the trigger.
- Toggle the switch below the description to activate the trigger.
- Click the “Add” button to create the trigger, then click the green “Publish” button to save changes.
Saufter.io: The Top Intelligent Automation Choice For Your Businesses
Saufter.io streamlines automation, making tasks like password resets and returns/exchanges effortless. Track orders for delays and access self-service options instantly upon ticket creation. Experience smart automation with ease and efficiency through Saufter.io.
Key Features
- Effortless Automation: Simplify tasks such as password resets and returns/exchanges with streamlined automation.
- Order Tracking: Easily monitor orders to detect potential delays, ensuring timely and efficient operations.
- Self-Service Options: Access self-service functionalities within seconds of ticket creation, enhancing user convenience.
- Alert Notifications: Stay informed with smart notifications that keep your operations secure and efficient.
- Custom Automation: Create personalized automations tailored to your specific needs when a ticket is created.


